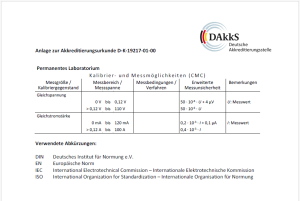
We offer DAkkS accredited calibration according to DIN EN ISO/IEC 17025 for our
- current measurement modules CMM III, CMM VI and CMM 2CH and our
- multi-channel voltage measurement systems MesSy II and MesSy II FD.
Recommended calibration interval for the mentioned CMM and MesSy according to manufacturers specifications: 24 months
dummy
Our DAkkS Calibration
1st Calibration: detect the actual measurement deviation of the calibration device
Adjustment: adjust the calibration device
2nd Calibration: detect the measurement deviation of the calibration device after adjustment
Recalibration CMM/MesSy
During recalibration your CMM/MesSy will be calibrated, adjusted and calibrated again. Thus, you get two calibration certificates from IRS. One with the measurement results before adjustment (1st calibration) and one with the results after adjustment (2nd calibration). So you always get a view of your device‘s precision in the past and it‘s precision now.
If your CMM/MesSy must not be adjusted during recalibration you may just note it explicitly when ordering.
New CMM/MesSy
A new CMM/MesSy will always be adjusted before delivery and you get one calibration certificate with the measurement results after adjustment.
dummy
Benefits of a DAkkS calibration
|
|
Factory calibration | DAkkS calibration |
|---|---|---|
| Calibration certificate before adjustment (1st calibration) | no | yes |
| Performing adjustment | yes | yes |
| Calibration certificate after adjustment (2nd calibration) | yes | yes |
| Calibration with accredited measurement uncertainty (MU) | no | yes |
| Compliance with IATF 16949 (7.1.5.3.2 External Laboratories) | no | yes |
dummy
Decision rule for conformity assessment of measurement results
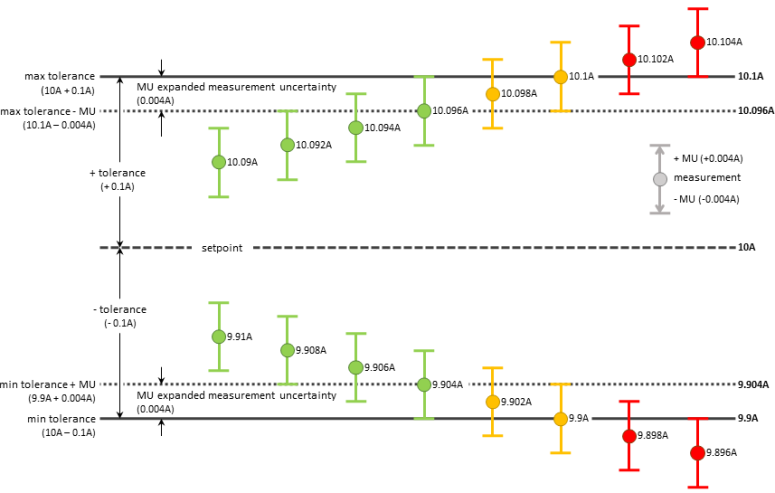
The following diagram shows our decision rule for conformity assessment of measurement results considering the measurement uncertainty (MU). The diagram presents
exemplarily a calibration with a setpoint of 10A, a tolerance of 0.1A and a calculated MU of 0.004A.

Setpoint: measurement result measured by the standard.
Measurement: measurement result measured by the calibration device.
Expanded measurement uncertainty (MU): dimension for the spread of the measurement result caused by the measurement procedure, the standard and the calibration device.
Tolerance: maximum permissible deviation from the setpoint according to manufacturers specification.
Depending from it‘s position in the tolerance zone every measurement result is marked in the calibration certificate as follows.
| Assessment of the measurement result | Marking | |
|---|---|---|
| Measurement result is within the tolerance | not marked | |
| Measurement result is with a probability of 50% to 95% within the tolerance | ? | |
| Measurement result is with a probability > 50% outside the tolerance | X |


